Cisco VoIP - Email notification of new voicemail messages
The following
instructions will guide you through how to set up delivery of your voicemail
messages to your email account. When a new voicemail is received, you will
receive an email with the voicemail attached as an audio file.
After you finish these settings, please test the setup by leaving a voicemail for yourself. If it doesn't work, put in a helpdesk ticket and we'll troubleshoot with you to fix it.
Please go to the following URL (you will need to be on the KMSD Network to access this or using a district-provided laptop): https://do-cuc1.kmsd.local/ciscopca/home.do
Sign in with your KMSD username & password
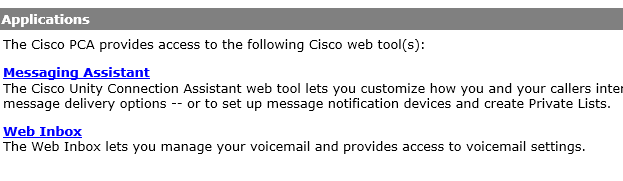
Click “Messaging Assistant”
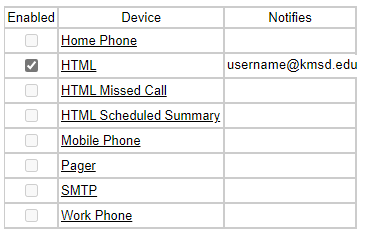
1. From the top menu, click Notification Devices and then select View Notification Devices drop down menu.

2. Select HTML by clicking on the word HTML. This will bring you to a new page.
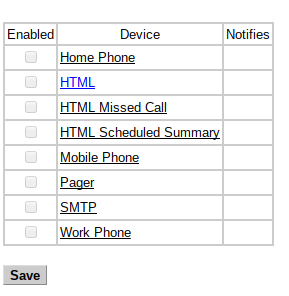
3. To enable or disable this notification device, select the Notification Enabled checkbox and add your KMSD email address in the To: field.

4. Check the box "Allow voicemail as attachments". This will allow the system to send an audio file as an attachment with notification email. Choose the KMSD-VM-Template (likely at the bottom of the list)

5. Select a schedule for notification (optional)
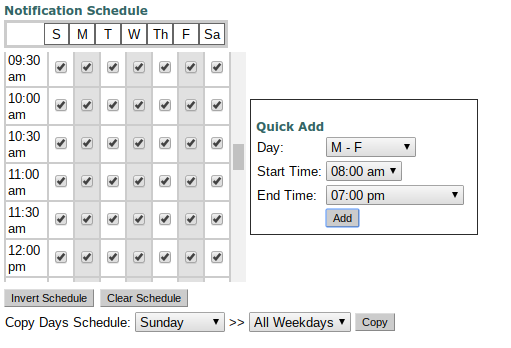
6. Select the Save button.
7. The View Notification Devices screen will now list the email address that was added.
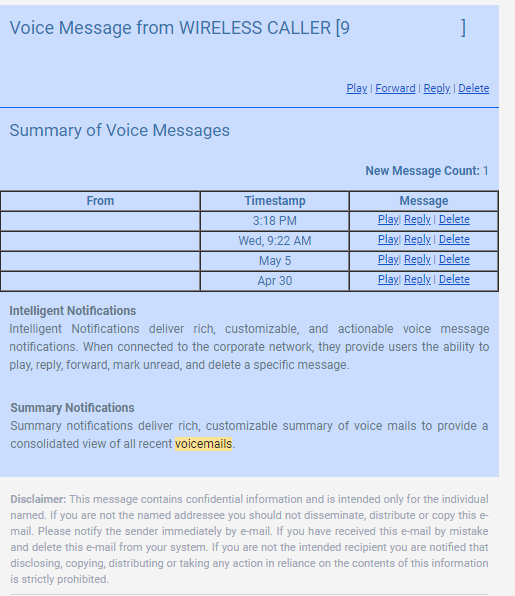
When you receive a voicemail now, you should receive an email with an attachment that includes the voicemail.
The Play / Forward / Reply / Delete buttons are functional, but only if you are using a KM staff laptop or are on our network.